Storywood Designs
The essence of a piece of furniture lies in its story
Storywood Designs extends an invitation to clients to breathe new life into their cherished furniture. With a diverse range of finishes, the company collaborates with clients to determine the most fitting look for their homes. Specializing in kitchen and bathroom spaces, Storywood Designs also provides cabinet painting services
Complement your bespoke interior with the timeless elegance of Ikea furniture. Discover exclusive Ikea discounts and promo codes on 20minutos.es to blend artisan craftsmanship with Scandinavian simplicity in your home.
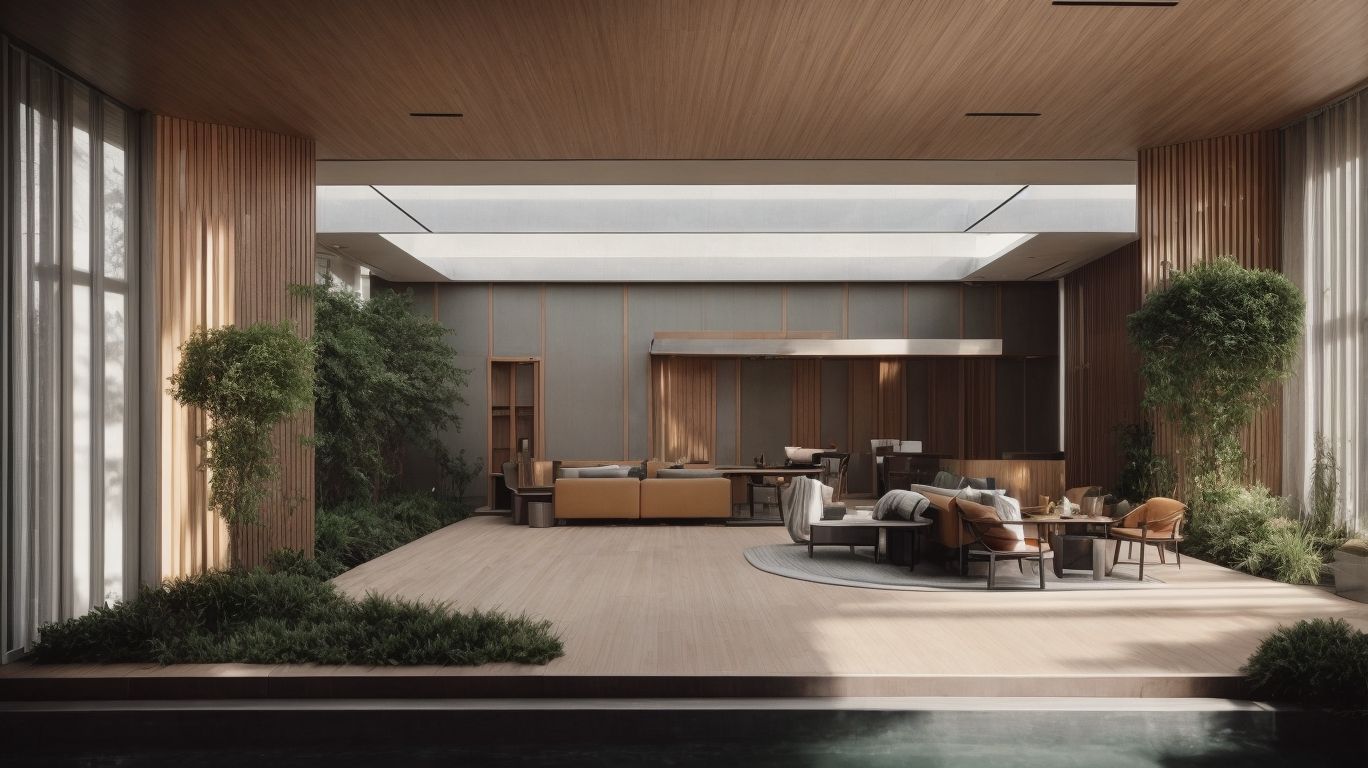
Our stories
Expert Advice: How Long Does it Take to Paint the Interior of a House?
Are you planning to give your home a fresh new look with a fresh coat of paint? When it comes to painting the interior of your house, one…
Expert Tips for Safely Using a Paint Sprayer Indoors
Are you looking to upgrade your indoor painting projects? Understanding how to use a paint sprayer indoors can revolutionize the way you approach home improvement. In this comprehensive…
Understanding Interior Designer Pricing: How Do They Charge?
Interior design is a multifaceted discipline that encompasses the art and science of enhancing the interior of a space to create a more aesthetically pleasing and functional environment.…
Discover the Top 5 Painting Tips and Products for Your Next Project
Are you ready to take your painting projects to the next level? Whether you’re a professional painter or a DIY enthusiast, having the right tools and products can…
Best Paint for Interior Metal Doors: A Comprehensive Guide
Are you looking to give your interior metal doors a fresh new look? Choosing the right paint for your interior metal doors can make a significant difference in…
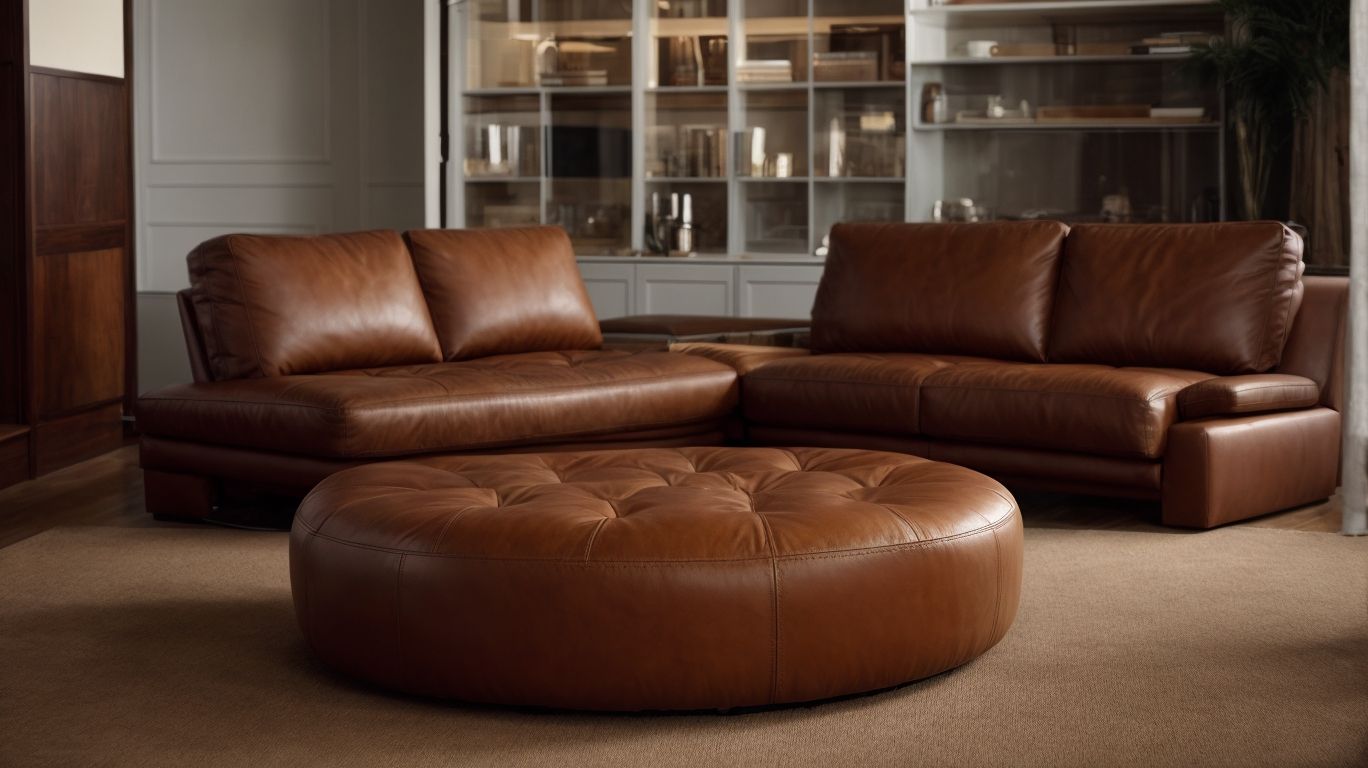
Discover the Perfect Combination: What Colour Goes With Brown Leather Sofa
Are you looking to revamp your living room and wondering how to choose the perfect colour scheme to complement your brown leather sofa? Look no further! In this…
The Intersection of Graphic Design and Architecture: How it Enhances Interior Design
Graphic design plays a crucial role in shaping the visual aspects of architecture and interior design, integrating creativity and functionality to enhance the overall user experience. In this…
Mixing Interior and Exterior Paint: Tips and Tricks for a Seamless Finish
Are you contemplating mixing interior and exterior paint for your next home improvement project? Before you grab your paintbrush, it’s important to understand the key differences between interior…
Revisiting the Painted Brass Bed: A Long Overdue Reflection
The allure of a painted brass bed is undeniable. With its timeless elegance and versatility in design, the painted brass bed has become a popular choice for many…
Experience a Spooky Halloween Home Tour: Spiders, Rats, and Ghosts
Are you ready to transform your home into a spooky and enchanting Halloween wonderland? In this article, we will explore the captivating world of Halloween decorations, with a…
Achieving the Perfect Look: A Little Trim Here and There
In today’s world, body hair removal has become a common practice for both men and women. But have you ever wondered why people feel the need to remove…
Maximizing Your Master Bathroom: A Guide to Working with What You Have
Are you considering a master bathroom update but feeling overwhelmed by the process? Before you dive into the renovation, it’s essential to assess your current space, set a…