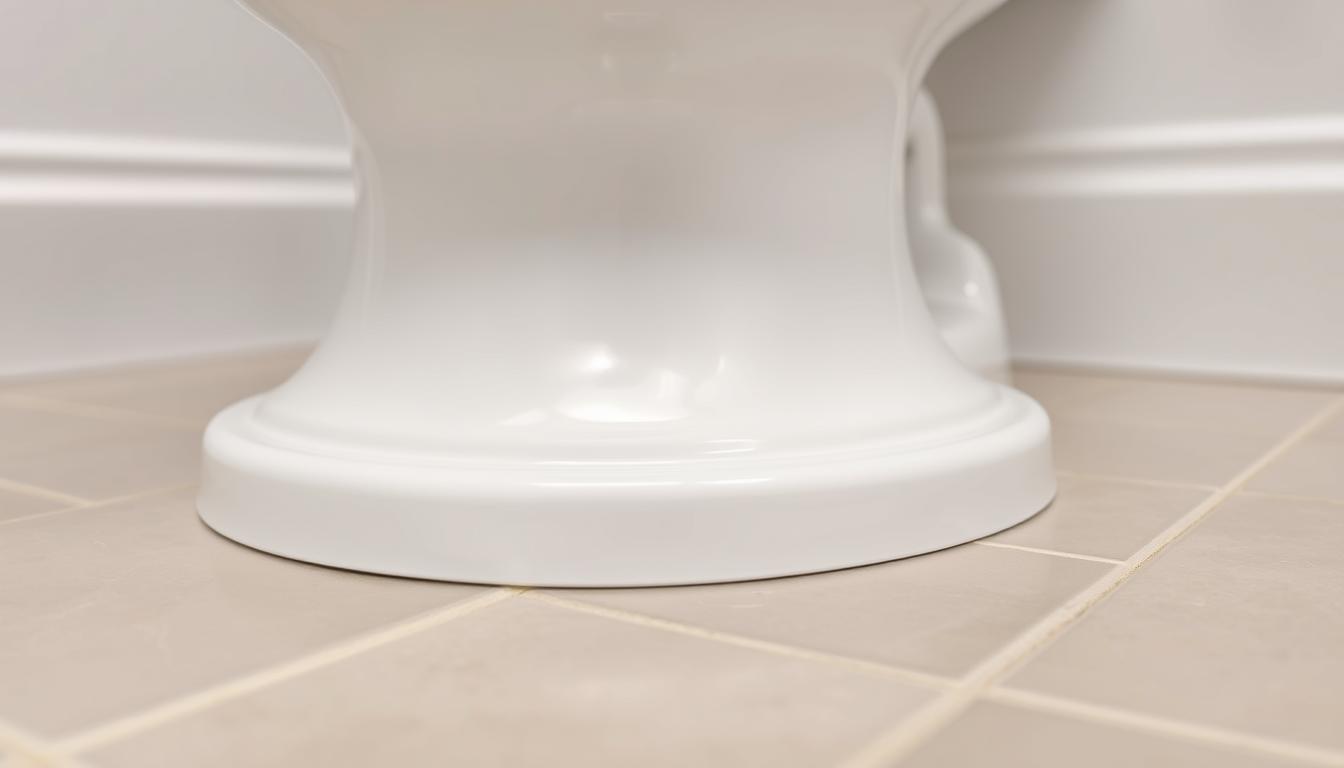
Caulking Around Toilet
A well-maintained bathroom is not just aesthetically pleasing, but also essential for a healthy home. One often overlooked aspect is the area around the toilet, where water can seep into the floor, causing damage and creating an ideal environment for mold and mildew to thrive.
Applying a proper seal is crucial to prevent such issues. We will guide you through the process, explaining why it’s essential for a clean and watertight bathroom.
By following our step-by-step guide, you’ll be able to achieve a professional-looking finish, ensuring your bathroom remains fresh and secure.
The Importance of Proper Toilet Sealing
Sealing your toilet correctly is fundamental to preventing a host of potential problems in your bathroom. Proper toilet sealing is not just about aesthetics; it’s about maintaining the integrity and hygiene of your bathroom.
Preventing Water Damage and Mold Growth
A proper seal around the toilet prevents water from seeping onto the floor, reducing the risk of water damage and mold growth. This is crucial for maintaining the structural integrity of your bathroom and ensuring a healthy environment.
Creating a Cleaner, More Hygienic Bathroom
A well-sealed toilet also contributes to a cleaner and more hygienic bathroom. By preventing water and moisture from accumulating around the toilet, you reduce the likelihood of bacterial and mold growth, making your bathroom a healthier space for you and your family.
| Benefits | Description |
|---|---|
| Prevents Water Damage | Proper sealing prevents water from leaking onto the floor. |
| Reduces Mold Growth | By minimizing moisture, you reduce the risk of mold. |
| Enhances Hygiene | A well-sealed toilet contributes to a cleaner bathroom environment. |
Tools and Materials You’ll Need for the Job
The key to a successful caulking job lies in having the right tools and materials at your disposal. When it comes to caulking around your toilet, the task requires some specific supplies to ensure a professional finish.
Selecting the Best Caulk for Bathroom Use
Choosing the right caulk is crucial for a durable and water-resistant seal. For bathrooms, it’s best to use a silicone-based caulk that is mold and mildew resistant. Look for products labeled as “bathroom” or “kitchen and bath” caulk, as these are formulated to withstand the moist environment.
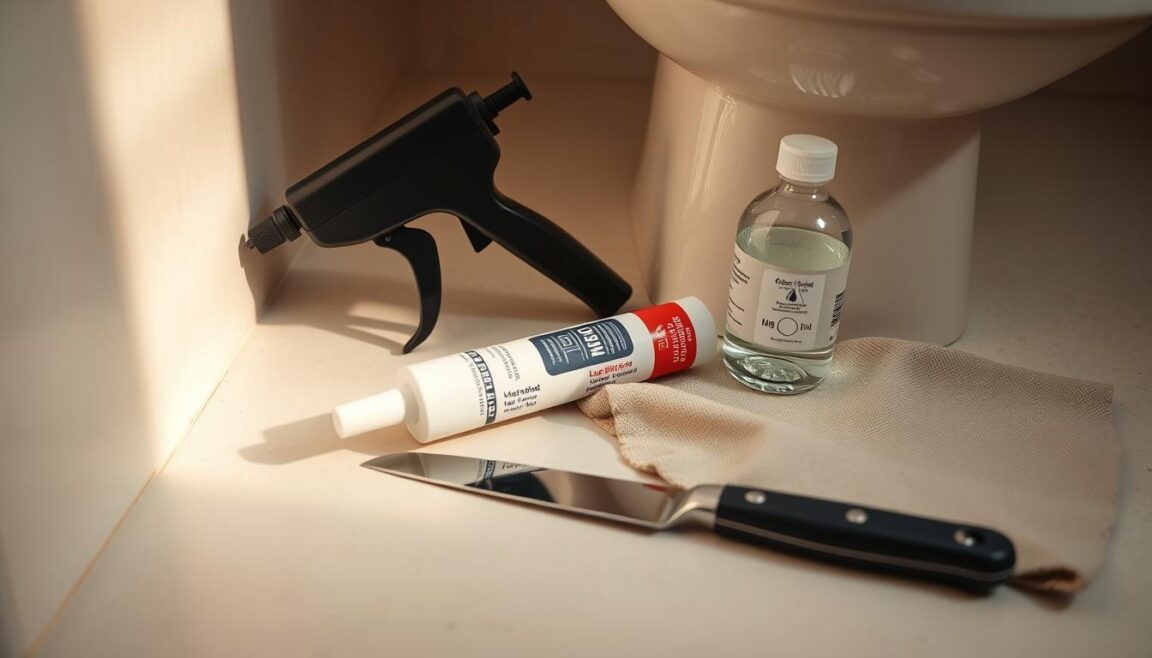
Essential Tools for Professional Results
To apply caulk effectively, you’ll need a few essential tools. A caulk gun is necessary for controlling the amount of caulk dispensed. Additionally, a caulk tool or a damp finger can be used to smooth out the caulk for a neat finish.
Preparation Supplies for a Clean Workspace
Before you start caulking, it’s essential to clean the area around the toilet thoroughly. Gather supplies like a scrub brush, toilet bowl cleaner, and rags to remove dirt, grime, and old caulk. This preparation ensures a clean surface for the new caulk to adhere to.
Step-by-Step Guide to Caulking Around Toilet
In this section, we’ll walk you through the process of caulking around your toilet like a pro. Caulking around the toilet is a task that requires some patience and attention to detail, but with the right guidance, you can achieve professional-looking results.
Removing Old Caulk Completely
The first step in caulking around your toilet is to remove the old caulk completely. This is crucial because old caulk can be a breeding ground for mold and mildew, and it can also prevent the new caulk from adhering properly. Use a caulk removal tool or a utility knife to gently scrape away the old caulk, taking care not to scratch the surrounding surfaces.
Thoroughly Cleaning and Prepping the Area
Once the old caulk is removed, thoroughly clean the area around the toilet to remove any dirt, grime, or soap scum. Use a bathroom cleaner and a scrub brush to scrub the area, then dry it completely with a towel. This step is essential to ensure that the new caulk adheres well and lasts longer.
Applying New Caulk with Precision
With the area clean and dry, it’s time to apply the new caulk. Cut the nozzle of the caulk tube at an angle, and use a caulking gun to apply a steady, continuous bead of caulk around the toilet. Make sure to fill the gap completely, but avoid applying too much caulk, as this can be messy and difficult to clean up.
To ensure a smooth application, hold the caulking gun at a 45-degree angle and move it steadily around the toilet. If you’re new to caulking, it might be helpful to practice on a small area first to get a feel for the process.
Smoothing and Finishing for a Professional Look
After applying the new caulk, use a damp finger or a caulk tool to smooth out the caulk, feathering it out towards the edges so that it blends seamlessly with the surrounding surfaces. This step is crucial for achieving a professional-looking finish. Make sure to wipe away any excess caulk with a damp cloth before it dries.
Maintaining Your Toilet Seal and When to Recaulk
To ensure the longevity of your toilet seal, regular maintenance is crucial. We recommend inspecting the caulk around your toilet periodically for signs of wear and tear, such as cracks, mold, or mildew.
When you notice any damage or deterioration, it’s time to reapply toilet sealant. To do this, follow the same steps outlined in our step-by-step guide on how to caulk around toilet. This will help maintain a watertight seal and prevent water damage.
By staying on top of toilet seal maintenance, you can keep your bathroom in optimal condition and avoid costly repairs down the line. Regularly checking and recaulking as needed will ensure a cleaner, more hygienic bathroom for years to come.

