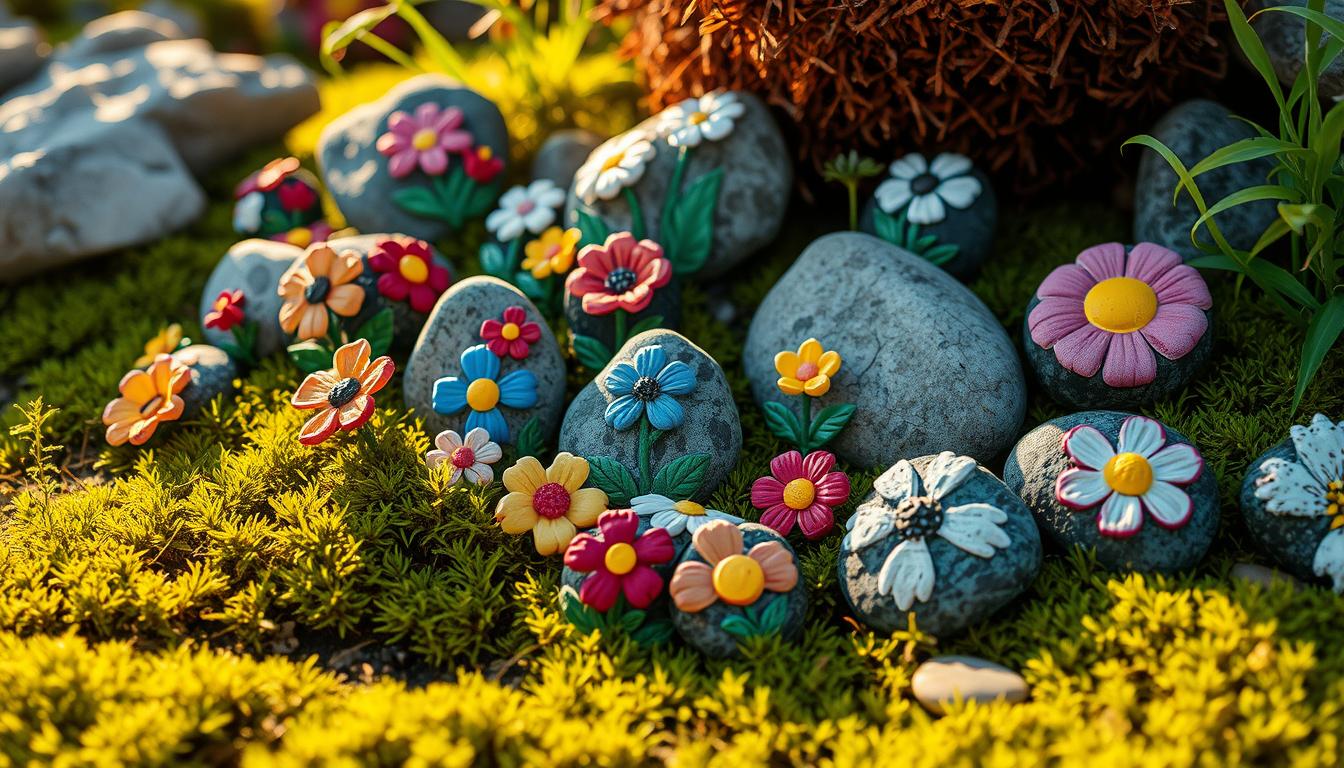
DIY Painted Rock Flowers Garden
We are excited to guide you through the creative process of creating a beautiful garden decoration that adds a personal touch to your outdoor space. This unique idea serves as a fun and creative activity for you and your family.
With a little creativity and some basic supplies, you can transform your garden into a vibrant and colorful oasis through the art of rock painting.
We will walk you through the steps to create your own masterpieces, from gathering materials to displaying your finished work.
Essential Supplies and Preparation
The foundation of a beautiful DIY Painted Rock Flowers Garden lies in the quality of your supplies and preparation. To ensure a successful project, we need to focus on gathering the right materials and setting up a conducive workspace.
Gathering Your Materials
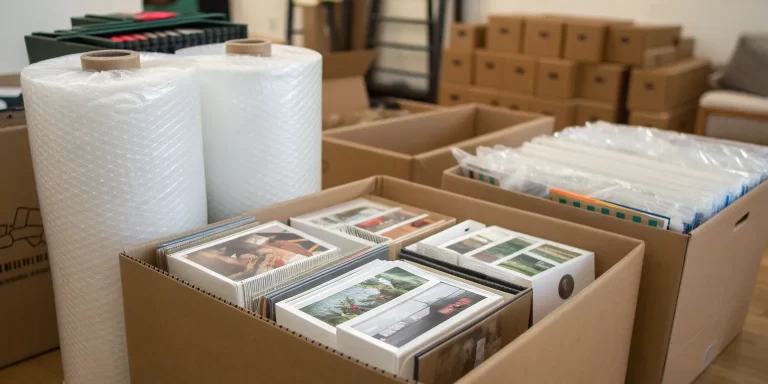
To start, you’ll need to collect the necessary painting supplies, including high-quality paints, brushes, and a sealant to protect your artwork from the elements. For a garden decoration project like this, it’s essential to choose materials that are durable and weather-resistant.
Selecting the Right Rocks
Selecting the right rocks is crucial for your DIY Painted Rock Flowers Garden. Look for rocks that are smooth, flat, and have an interesting shape or texture. The size of the rocks can vary, but they should be large enough to paint detailed designs.
Setting Up a Creative Workspace
Setting up a comfortable and creative workspace is vital for inspiring your artistic side. Ensure good lighting, a sturdy work surface, and all your materials within easy reach. This will help you stay focused and enjoy the process of creating your rock flowers.
Step-by-Step Guide to Creating DIY Painted Rock Flowers Garden
Let’s get started on the creative journey of making a stunning DIY Painted Rock Flowers Garden. With our materials and workspace ready, we can now dive into the step-by-step process of transforming plain rocks into beautiful flowers.
Cleaning and Priming Your Rocks
Before we begin painting, it’s essential to clean and prime our rocks. Start by washing the rocks with soap and water to remove any dirt or debris. Once dry, apply a primer to create a smooth surface for painting. This step ensures that our paint adheres well and lasts longer.
Basic Flower Painting Techniques
Now, let’s explore some basic flower painting techniques. We’ll focus on popular designs like daisies, sunflowers, roses, and tulips. For daisies and sunflowers, use bright colors and simple brushstrokes to capture their cheerful essence.
Daisies and Sunflowers
Daisies can be painted with white petals and a yellow center, while sunflowers often feature large yellow petals with a dark center. Use a small brush to add details like the texture of the petals and the center of the flower.
Roses and Tulips
Roses and tulips require a bit more detail. For roses, paint layered petals in shades of red or pink, adding depth and dimension. Tulips can be painted with cup-shaped petals in various colors, often with distinctive stripes or patterns.
Adding Details and Dimension
To bring our flowers to life, we need to add details and dimension. Use a fine brush to paint on the final details, such as the texture of the petals, leaves, and stems. Adding shading and highlights will also give our flowers a more realistic appearance.

Advanced Painting Tips and Design Ideas
Elevate your garden decoration with advanced painting tips and design ideas for painted rocks. To take your DIY Painted Rock Flowers Garden to the next level, we’ll explore techniques that add realism and durability to your creations.
Color Blending for Realistic Petals
To achieve realistic petals, master the art of color blending. Start with a base color and gradually add shades to create depth.
- Begin with a light base coat.
- Add mid-tone shades for dimension.
- Use dark shades for shading.
Creating Stems and Leaves
Complement your flowers with realistic stems and leaves. Use a small brush to paint these details.
Weatherproofing Your Rock Flowers
To ensure your painted rocks withstand the elements, weatherproofing is crucial.
Selecting the Right Sealant
Choose a sealant that is suitable for outdoor use.
Application Techniques
Apply the sealant according to the manufacturer’s instructions.
Bringing Your Rock Garden to Life
Now that you’ve created your beautiful DIY Painted Rock Flowers, it’s time to display them in your garden. To create a visually appealing display, consider arranging your rock flowers in a pattern or grouping them together to add pops of color to your outdoor space.
You can incorporate your rock flowers into your existing garden design by placing them among your plants or using them to create a unique border. Experiment with different placements to find the perfect spot for your flower designs, adding a personal touch to your garden.
By displaying your rock flowers, you’ll add a creative and personalized element to your garden, reflecting your style and flair. Enjoy your beautiful DIY Painted Rock Flowers Garden, and watch as it becomes a lovely focal point in your outdoor space.