Dryer Venting Options
Choosing the right venting system for your dryer is crucial for both safety and efficiency. A well-installed venting system can significantly reduce the risk of fires and improve your dryer’s performance.
We will guide you through the different types of dryer venting systems available, helping you make an informed decision for your home. From traditional exterior wall venting to roof venting systems and indoor venting alternatives, we’ll cover the pros and cons of each.
By understanding the various venting options for dryers, you can select the best system that meets your needs, ensuring a safer and more efficient drying process.
Types of Dryer Venting Options
The type of dryer venting system you choose can significantly impact your home’s safety and efficiency. When selecting a venting option, it’s essential to consider various factors, including your home’s layout, local building codes, and personal preferences.
Traditional Exterior Wall Venting
Traditional exterior wall venting is a common choice for many homeowners. This method involves venting the dryer directly through an exterior wall.
Materials and Components
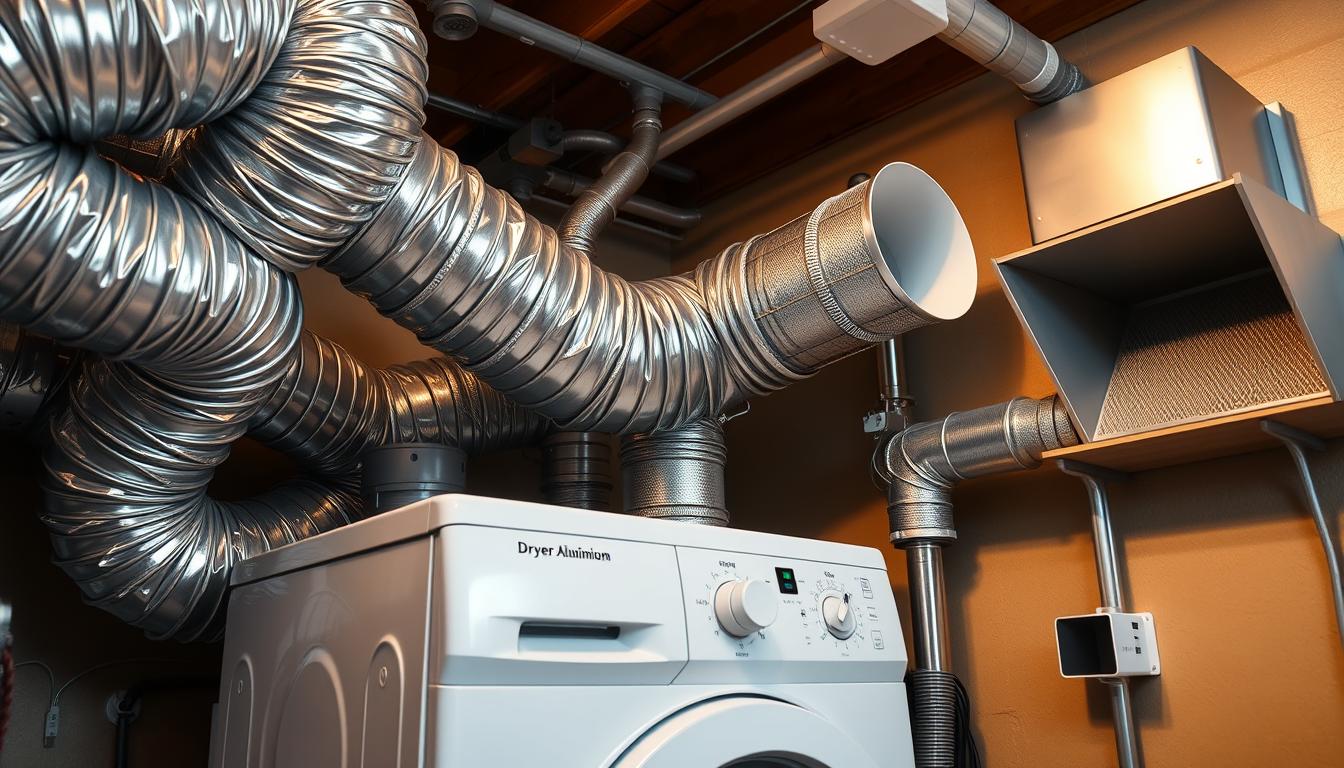
The materials used for traditional exterior wall venting include rigid or flexible ducts, vent hoods, and clamps. It’s crucial to choose durable, fire-resistant materials to minimize risks.
Ideal Installation Scenarios
This method is ideal for homes where the dryer is located near an exterior wall, reducing the need for lengthy duct runs and minimizing potential lint buildup.
Roof Venting Systems
Roof venting systems offer an alternative for homes where exterior wall venting isn’t feasible. This method involves venting the dryer through the roof.
Benefits and Limitations
Roof venting can be beneficial in certain situations, such as when the dryer is located far from an exterior wall. However, it may require more complex installation and potentially lead to roof leaks if not done correctly.
Weather Considerations
Weather conditions, such as heavy rainfall or snow, can impact the effectiveness of roof venting systems. Proper flashing and sealing are essential to prevent water intrusion.
Indoor Venting Alternatives
For some homeowners, indoor venting alternatives may be more suitable. These solutions include indoor lint traps and ventless dryer systems.
Indoor Lint Traps
Indoor lint traps can help reduce lint accumulation in the venting system, improving overall safety and efficiency.
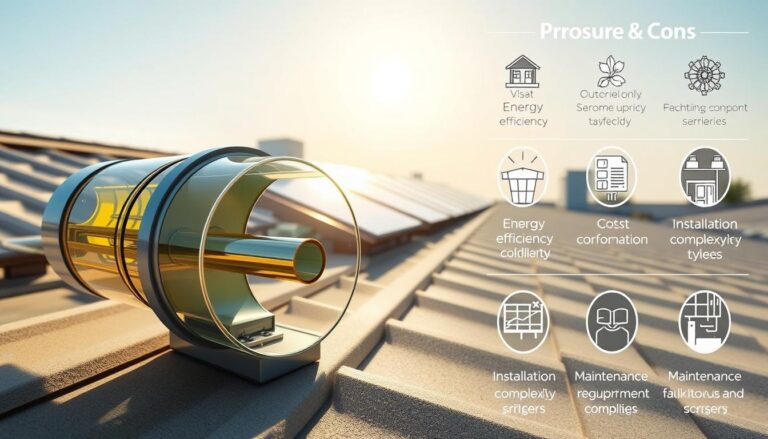
Ventless Dryer Solutions
- Ventless dryers use advanced technology to condense and collect moisture, eliminating the need for external venting.
- They offer greater flexibility in terms of installation location.
- However, they may have higher upfront costs and energy consumption.
How to Choose and Install the Right Venting System
To ensure your dryer operates safely and efficiently, selecting and installing the correct venting system is vital. A well-planned dryer venting system not only improves the dryer’s performance but also reduces the risk of potential hazards.
Assessing Your Home’s Layout
Before installing a dryer venting system, it’s crucial to assess your home’s layout. This involves understanding the distance between your dryer and the exterior wall or roof.
Distance Limitations
The length of the venting system should be as short as possible to maximize efficiency. Longer vents can lead to increased lint buildup and reduced dryer performance.
Building Code Requirements
It’s essential to comply with local building codes and regulations regarding dryer vent installations. These codes often specify the type of materials to use and the installation methods.

Measuring and Planning Your Vent Route
Once you’ve assessed your home’s layout, the next step is to measure and plan your vent route carefully. This involves determining the most direct path to the exterior while minimizing bends and kinks.
Tools and Materials Needed
Gather all necessary tools and materials before starting the installation. This includes vent pipes, clamps, and a vent cap.
Creating a Proper Slope
Ensure that your venting system has a proper slope to prevent moisture accumulation. A slight slope away from the dryer is recommended.
| Component | Description | Importance |
|---|---|---|
| Vent Pipes | Durable pipes for venting | High |
| Clamps | Securing vent pipes together | High |
| Vent Cap | Protects vent exit from elements | Medium |
Step-by-Step Installation Process
With your plan in place, you can begin the installation process. Start by cutting a hole in the exterior wall or roof, then connect the vent pipe to the dryer and secure it.
Cutting and Securing Ductwork
Use a vent cutting tool to make precise cuts, and secure the ductwork with clamps to prevent leaks.
Sealing Joints Properly
Seal all joints with foil tape to prevent lint and moisture from escaping. This step is crucial for maintaining efficiency and safety.
Common Installation Mistakes to Avoid
Being aware of common mistakes can save you time and ensure a safe installation. Two critical areas to focus on are fire safety concerns and efficiency killers.
Fire Safety Concerns
Lint buildup is a significant fire hazard. Regular cleaning and proper installation can mitigate this risk.
Efficiency Killers
Kinks, bends, and long vent runs can significantly reduce dryer efficiency. Minimizing these factors is key to optimal performance.
Maintaining Your Dryer Venting for Safety and Efficiency
Installing your dryer venting system is just the first step. To ensure it continues to operate safely and efficiently, regular maintenance is crucial. We recommend cleaning lint traps after every use to prevent buildup and reduce the risk of fires.
Regularly inspecting your venting ducts for damage or blockages is also vital. Check for signs of wear, such as cracks, dents, or rust, and replace damaged sections promptly. This will help maintain airflow and prevent energy consumption from increasing.
By prioritizing dryer vent maintenance, you can extend the lifespan of your dryer and reduce the risk of potential fires. We advise scheduling annual professional inspections to ensure your venting system is functioning correctly. By following these tips, you’ll be able to enjoy a safer, more efficient drying experience.