How To Stain Over Stained Furniture Without Sanding
Giving old furniture a new life is a rewarding DIY project. We explore the process of restaining furniture, a technique that breathes new life into worn-out pieces. This guide will walk you through the steps to achieve a professional-looking finish without the need for sanding.
Restaining furniture can be a cost-effective and environmentally friendly way to renovate your home. By applying the right techniques and using the appropriate materials, you can achieve a beautiful, like-new finish. We will outline the essential steps and considerations for staining furniture without sanding, making it accessible to DIY enthusiasts of all skill levels.
What You Need to Know Before Restaining Furniture
The key to a successful furniture makeover lies in understanding the condition and type of your furniture. Before you begin restaining, several factors need to be considered to ensure a professional-looking finish.
Types of Furniture Suitable for No-Sand Refinishing
Not all furniture is suitable for no-sand refinishing. Generally, pieces with a laminate or veneer surface are not good candidates, whereas solid wood furniture can often be refinished without sanding, provided the existing finish is intact.
Assessing Your Current Finish and Wood Condition
Assessing the current finish involves checking for any damage or deterioration. The wood condition is also crucial; look for signs of rot, water damage, or structural weaknesses that could affect the refinishing process.
Essential Materials and Tools Checklist
To restain your furniture successfully, you’ll need the right materials and tools. This includes a deglosser or liquid sandpaper, appropriate stain for your wood type, and a sealer to protect the new finish.
Deglossers and Liquid Sandpaper Options
Deglossers and liquid sandpaper are used to prepare the surface. Deglossers roughen the existing finish, while liquid sandpaper chemically etches the surface, both allowing for better stain adhesion.
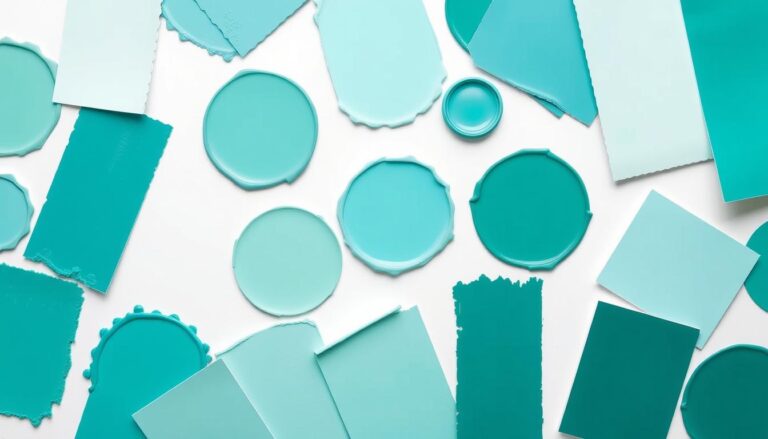
Stains and Sealers for Different Wood Types
Different types of wood require specific stains and sealers. For example, oak and pine have different porosity levels, affecting how they absorb stain. Choosing the right products ensures a uniform and lasting finish.
How To Stain Over Stained Furniture Without Sanding: Step-by-Step Process
To give your furniture a fresh new look without the hassle of sanding, you can stain over the existing stain with the right approach. We will guide you through the step-by-step process, ensuring that you achieve professional-looking results.
Cleaning and Preparing Your Furniture Surface
Before applying a new stain, it’s crucial to clean the furniture surface thoroughly. We recommend using a mild detergent and water to remove dirt, grime, or wax buildup. This step is essential for ensuring a smooth and even finish.
After cleaning, let the surface dry completely. Any moisture left on the surface can interfere with the stain’s adhesion and final appearance.
Applying Deglosser or Liquid Sandpaper Properly
To create a surface that the new stain can adhere to, you’ll need to apply a deglosser or liquid sandpaper. These products help break down the existing finish, allowing for a stronger bond between the old stain and the new one.
Follow the manufacturer’s instructions for application and drying times. Typically, you’ll apply the deglosser or liquid sandpaper with a lint-free cloth, working in small sections to maintain even coverage.

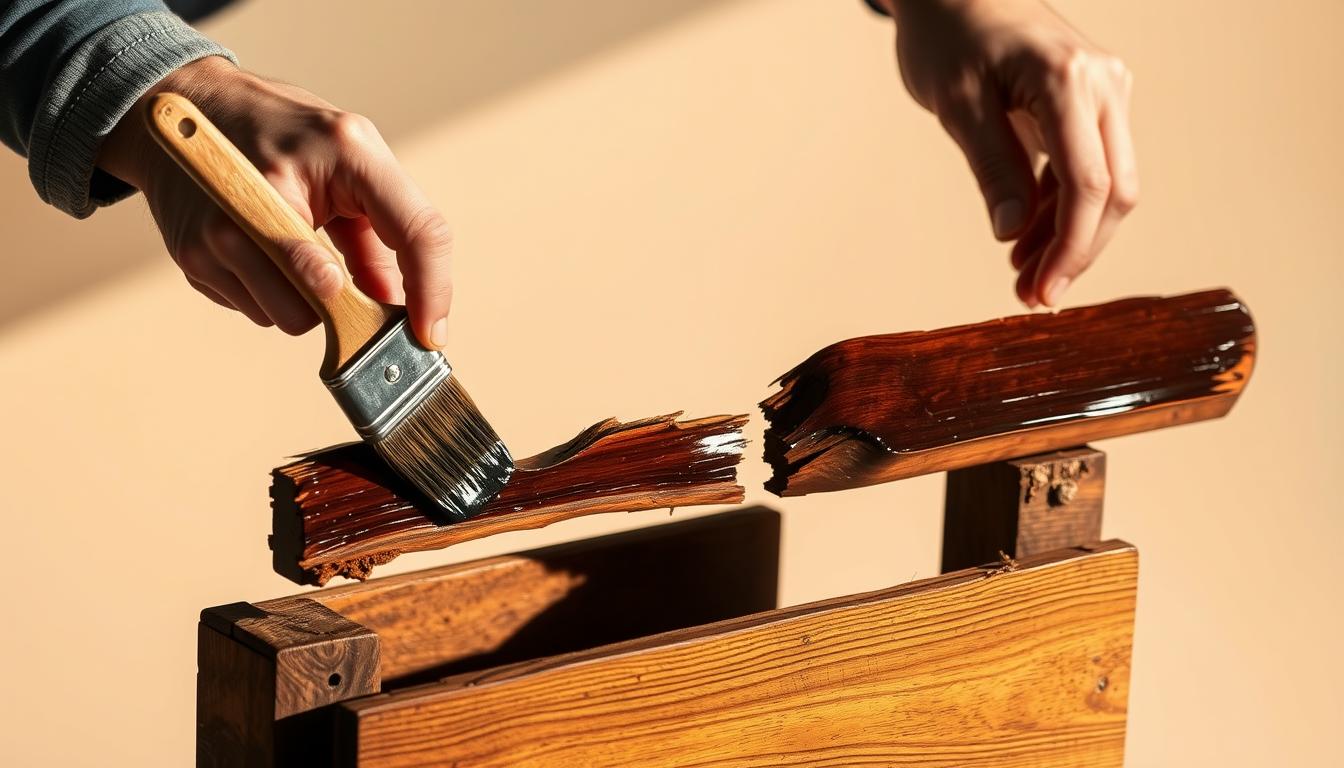
Testing and Applying Your New Stain
Before applying the new stain to the entire piece, test it on a small, inconspicuous area. This step is crucial for ensuring that the stain takes evenly and that the color is as expected.
Working with Gel Stains vs. Traditional Stains
Gel stains offer a thicker consistency that can be beneficial for vertical surfaces or for achieving a more uniform color. Traditional stains, on the other hand, penetrate deeper into the wood, offering a richer color.
Application Techniques for Even Coverage
To achieve even coverage, apply the stain with a clean, lint-free cloth or foam brush, working in small sections. For larger pieces, consider using a foam pad or a spray gun for more uniform application.
Sealing and Protecting Your Newly Stained Finish
Once the stain is dry, apply a clear coat of polyurethane or varnish to protect the finish and enhance its durability. Follow the manufacturer’s instructions for application and drying times.
Applying multiple thin coats is better than one thick coat, as it reduces the risk of drips and unevenness.
Achieving and Maintaining Professional Results
To ensure your newly stained furniture looks its best for years to come, proper maintenance is essential. We recommend regularly dusting your furniture with a soft cloth to prevent dirt and grime from building up. For more thorough cleaning, use a gentle wood furniture cleaner, avoiding harsh chemicals that can damage the finish.
Maintaining stained furniture requires attention to detail and a commitment to regular upkeep. By following a few simple steps, you can keep your furniture looking like new. For instance, avoid placing your furniture in direct sunlight, which can cause fading or discoloration. Using coasters and placemats can also help protect the surface from spills and scratches.
For professional furniture finishing and DIY furniture maintenance, it’s crucial to be proactive. Regularly inspect your furniture for signs of wear, and address any issues promptly. By doing so, you’ll be able to enjoy your beautifully refinished furniture for years to come, while also maintaining its overall appearance and longevity.