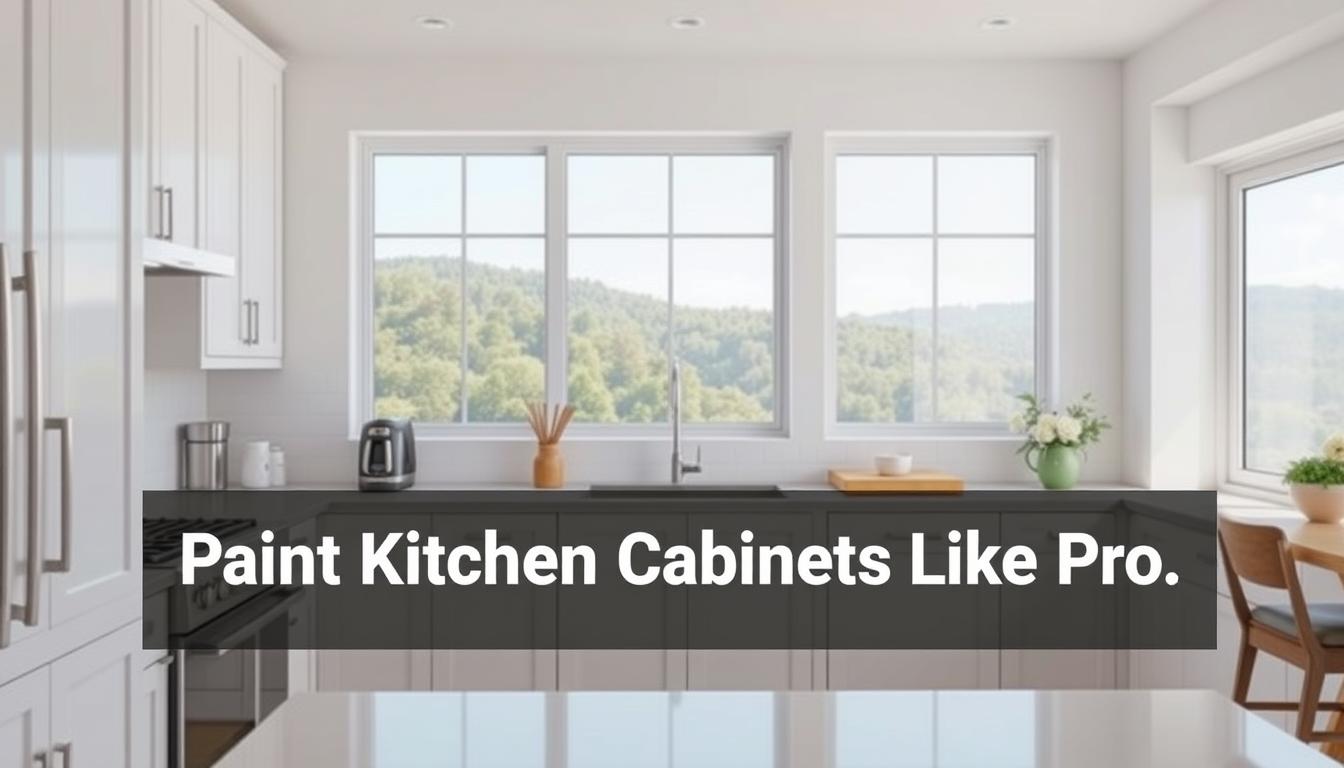
Paint Kitchen Cabinets Like Pro
Giving your kitchen a fresh new look doesn’t have to break the bank. A DIY kitchen renovation can be a cost-effective way to update your space.
A kitchen cabinet makeover is a great place to start. By refinishing your existing cabinets, you can achieve a professional-looking finish without the hefty price tag of replacement.
To ensure a successful DIY project, proper preparation and technique are key. We’ll guide you through the process, sharing tips and tricks to help you achieve a beautiful, long-lasting result.
Preparing to Paint Kitchen Cabinets Like Pro
Proper preparation is the foundation of a successful cabinet painting project. To achieve a professional finish, it’s crucial to gather the right tools and materials, remove cabinet doors and hardware efficiently, and clean and sand the surfaces thoroughly.
Gathering the Right Tools and Materials
Having the right tools and materials is essential for a smooth painting process. This includes essential painting supplies and the right primers and paints for your cabinet type.
Essential Painting Supplies
You’ll need high-quality painting supplies, including brushes, rollers, and trays. Consider using a paint sprayer for a smooth finish.
- Paintbrushes in various sizes
- Foam rollers for a smooth finish
- Paint trays with liners for easy cleanup
Recommended Primers and Paints
Choosing the right primer and paint is critical for durability and appearance. For most kitchen cabinets, a water-based primer and paint are suitable.
| Cabinet Material | Recommended Primer | Recommended Paint |
|---|---|---|
| Wood | Water-based primer | Semi-gloss latex paint |
| Laminate | Specialty laminate primer | High-gloss acrylic paint |
Removing Cabinet Doors and Hardware
Removing cabinet doors and hardware is a crucial step that requires care to avoid damage. Labeling each part ensures easy reassembly.
Labeling System for Easy Reassembly
Use a labeling system to mark each door and its corresponding hardware. This can be as simple as using stickers or a marker.
“A well-organized labeling system can save you hours during reassembly.”
Proper Storage of Hardware
Store the removed hardware in a safe, organized manner to prevent loss or damage.
Cleaning and Sanding Surfaces
Cleaning and sanding are vital for a smooth paint finish. Degreasing removes dirt and grime, while sanding prepares the surface.
Degreasing Techniques
Use a degreaser to remove grease and food residue from the cabinet surfaces.
Sanding Tips for Different Cabinet Materials
Sanding techniques vary depending on the cabinet material. For wood cabinets, use a fine-grit sandpaper to smooth out the surface.
By following these steps, you’ll be well-prepared to paint your kitchen cabinets like a pro.
Step-by-Step Cabinet Painting Process
To achieve professional-looking results, follow our step-by-step cabinet painting guide. Painting your kitchen cabinets can be a cost-effective way to give your kitchen a fresh new look. With the right tools and techniques, you can achieve a professional finish that will last for years.
Applying Primer Correctly
Before applying paint, it’s essential to prime your cabinets. Primer helps create a smooth surface for painting and ensures better paint adhesion. When choosing a primer, consider the type of material your cabinets are made of.
Brush vs. Roller Techniques
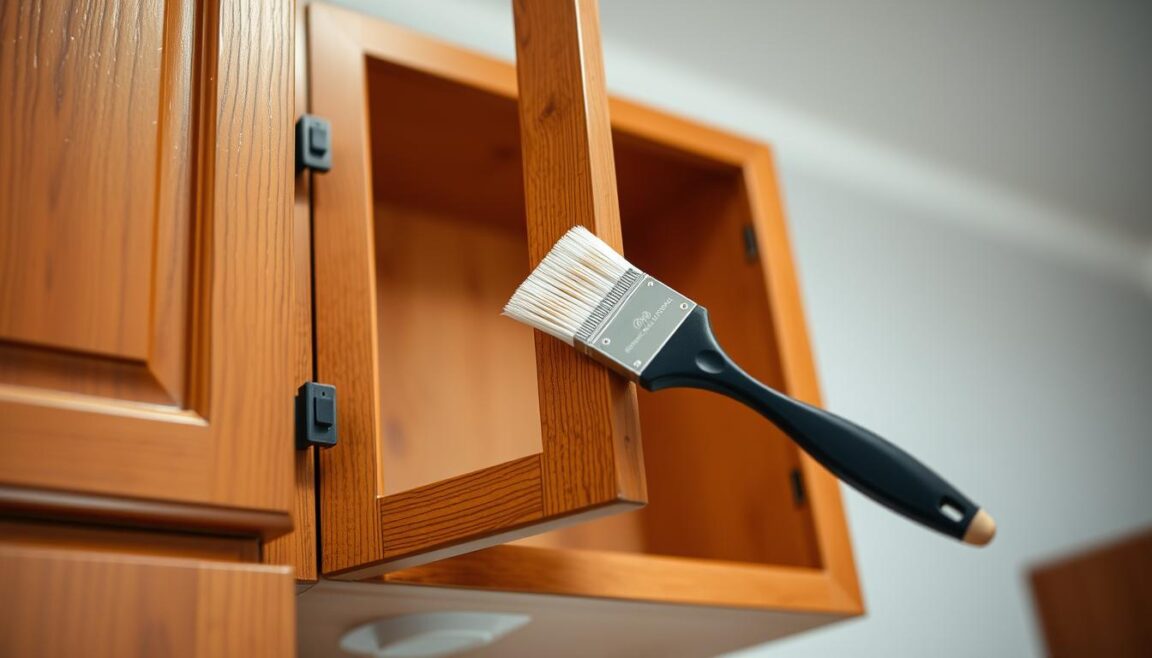
When applying primer, you can use either a brush or a roller. Brushes are ideal for detailed work and edges, while rollers cover larger areas quickly. For a smooth finish, use a high-quality brush or roller that’s suitable for your cabinet material.
Drying Times and Multiple Coats
Allow the primer to dry completely according to the manufacturer’s instructions. Depending on the primer and environmental conditions, you may need to apply multiple coats. Ensure each coat is dry before applying the next.
Choosing and Applying Paint
Once the primer is dry, it’s time to choose your paint. Consider the color, finish, and type of paint that suits your cabinets. Oil-based paints provide a durable finish, while water-based paints are easier to clean up.
Oil-Based vs. Water-Based Paints
Oil-based paints are ideal for high-traffic areas and provide a hard, durable finish. Water-based paints are more versatile and dry faster. Choose the type that best fits your needs and preferences.
Application Methods for Different Finishes
The application method can vary depending on the finish you want to achieve. For a smooth finish, use a high-quality brush or roller. For a textured finish, consider using a sprayer.
Techniques for a Smooth Finish
To achieve a smooth finish, it’s crucial to prepare your surface properly and apply paint with the right techniques. Sanding between coats can help remove minor imperfections.
Avoiding Brush Marks and Drips
To avoid brush marks, use a high-quality brush and work in small sections. For drips, maintain a wet edge and work from top to bottom.
Sanding Between Coats
Sanding between coats helps achieve a smooth finish by removing minor imperfections. Use a fine-grit sandpaper and sand in the direction of the wood grain.
Finishing Touches and Reassembly
With the paint dry, it’s time to focus on the finishing touches and cabinet reassembly. We start by reattaching the hardware, making sure it’s securely fastened to support the weight of the doors and drawers.
Next, we reinstall the cabinet doors, taking care to align them properly and ensure smooth operation. This is also the stage where we apply any final coats of clear coat to protect the paint and give the cabinets a glossy finish.
To keep your newly painted cabinets looking their best, regular maintenance is essential. We recommend wiping down the surfaces regularly and avoiding harsh chemicals that can damage the finish. By following these simple steps, you can enjoy your refreshed kitchen for years to come, and it’s a great way to explore new kitchen renovation ideas.

