Pallet Flooring
Transforming reclaimed wood into stunning DIY projects is not only eco-friendly but also adds a unique touch to your home decor. We will guide you through creating beautiful and durable DIY Pallet Flooring that brings warmth and character to any room.
By reusing wooden pallets, you can create a unique Pallet Wood Flooring that is both sustainable and aesthetically pleasing. Our step-by-step guide will walk you through planning your project and bringing your vision to life.
With this guide, you’ll be able to turn old pallets into a gorgeous floor that adds a rustic charm to your space, promoting sustainability and reducing waste.
Planning Your Pallet Flooring Project
A well-planned pallet flooring project is the key to achieving a beautiful and durable floor. Planning involves several critical steps that help ensure your project is successful and stress-free.
Selecting the Right Pallets for Flooring
Choosing the right pallets is crucial for your pallet flooring project. Look for pallets made from hardwood, as they are more durable. Inspect the pallets for damage or pest infestation.
Essential Tools and Materials Needed
To complete your pallet flooring project, you’ll need basic carpentry tools like a hammer, nails, and a saw. You’ll also need materials for treating the wood, such as varnish or sealant.
| Tool/Material | Description |
|---|---|
| Hammer | For disassembling pallets and tapping pieces into place |
| Nails | For assembling the pallet floor |
| Saw | For cutting pallet boards to size |
Safety Precautions When Working with Pallets
Working with pallets can be hazardous due to sharp edges and potential pest infestation. Wear protective gear, including gloves and safety glasses, to minimize risks.
By carefully planning your pallet flooring project, including selecting the right materials and taking necessary safety precautions, you can create a beautiful and unique reclaimed pallet flooring that adds character to your home.
Step-by-Step Pallet Flooring Creation
With the right guidance, you can create a stunning pallet flooring installation by following a straightforward process. Pallet flooring installation is a rewarding DIY project that not only adds a touch of rustic charm to your home but also promotes sustainability by reusing wooden pallets.
Preparing and Cleaning the Pallets
The first step in creating your pallet flooring is to prepare and clean the pallets. This involves removing any dirt, grime, or debris that may have accumulated on the pallets during their previous use.
Removing Nails and Hardware
Begin by carefully removing any nails or hardware from the pallets. This is a crucial step as it ensures that the pallets are safe to handle and work with.
Sanding Rough Surfaces
After removing the nails and hardware, sand the rough surfaces to smooth them out. Sanding not only enhances the appearance of the pallet wood but also makes it safer to walk on.
Disassembling Pallets Efficiently
Disassembling the pallets is a critical step in the pallet flooring installation process. To do this efficiently, you’ll need a few basic tools such as a hammer and a pry bar.
Treating the Wood for Indoor Use
Once you have disassembled the pallets, you’ll need to treat the wood to make it suitable for indoor use. This involves applying a wood treatment or sealant to protect the wood from moisture and pests.
Cutting Pallet Boards to Size
The final step in preparing your pallet wood for flooring is to cut the pallet boards to the required size. This will ensure that your pallet flooring fits perfectly in your chosen space.
| Step | Description | Tools Needed |
|---|---|---|
| 1 | Preparing and Cleaning Pallets | Hammer, Pry Bar, Sandpaper |
| 2 | Disassembling Pallets | Hammer, Pry Bar |
| 3 | Treating the Wood | Wood Treatment or Sealant, Brush or Applicator |
| 4 | Cutting Pallet Boards | Circular Saw or Hand Saw |

Bringing Your Pallet Floor to Life
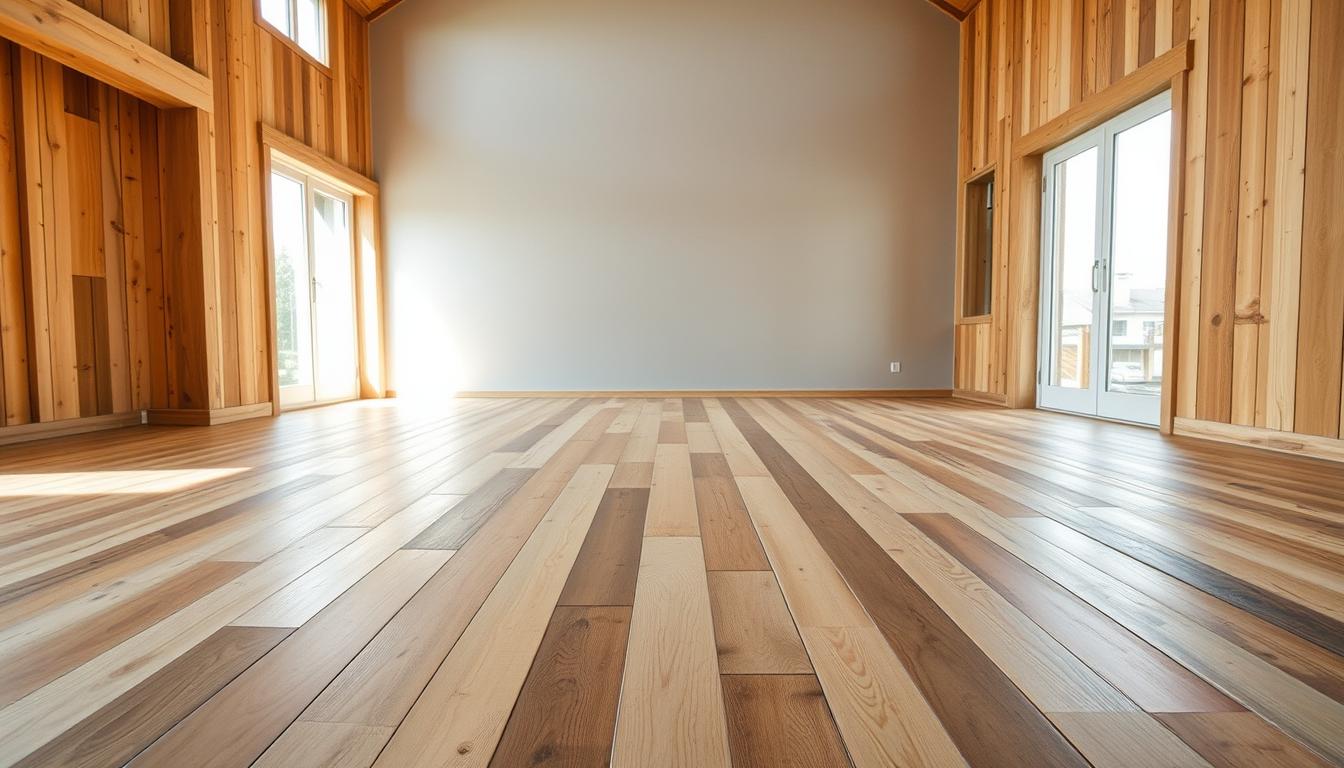
With your pallet boards prepared and treated, it’s time to assemble your pallet floor. We start by laying out the boards to achieve the desired pattern and aesthetic. You can choose from various patterns, such as a simple linear design or a more complex herringbone pattern, depending on your preference and the style of your space.
Once you’ve decided on the layout, secure the pallet boards in place using screws or nails. Make sure to space them evenly and align them properly to maintain a uniform appearance. After the boards are secured, you can add a finish to protect the wood and enhance its appearance. Options include staining, sealing, or applying a clear coat to give your pallet floor a polished look.
Whether you’re aiming for a rustic, distressed look or a more refined finish, the key is to ensure that your pallet floor is both durable and visually appealing. By following these steps, you can enjoy the fruits of your labor and appreciate the unique character that your pallet floor brings to your home.